
To cache or save your password information so eduroam doesn't require a password each time signing on, following the below instructions will automatically log you on to the eduroam Wi-Fi network after initial setup.
1) Sign in to Windows 10
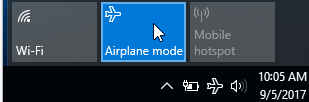
Logon to your device with your netid and netid password. After signing to your device, navigate to the bottom right on the desktop, and click on the radio wave icon near the clock.
NOTE: You cannot connect to eduroam with an admin account.
![]()
*NOTE* If you don’t see the radio wave icon you may see an airplane icon in its place. If that’s the case, select on the airplane icon then choose Airplane mode to deselect Airplane mode. The Airplane mode panel will turn grey.
2) Connect to eduroam
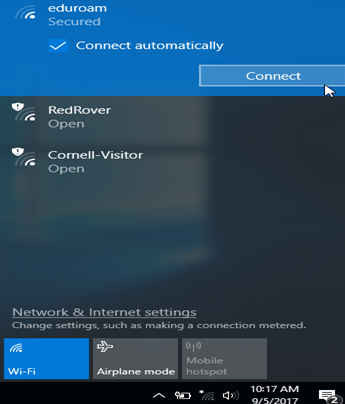
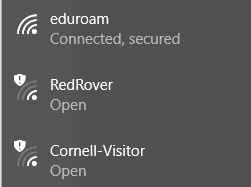
Select eduroam -> check the Connect automatically box, then click Connect.
3) Continue Connecting
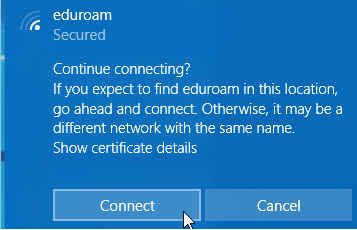
Select Connect when prompted to continue connecting.
4) Use Windows user Account
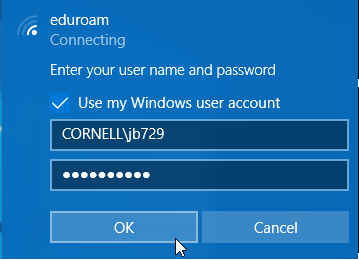
check the box Use my Windows user account. The username and password fields will automatically populate. Select OK.
5) euroam Connected and Secure
The eduroam connection will verify that you have successfully connected.
6) Adjust Settings in Network and Sharing Center
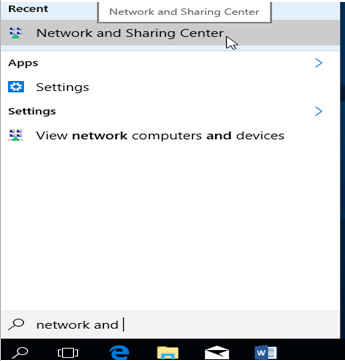
On the bottom left near the Start menu icon, click on the magnifying glass and type “network and.” Network and Sharing Center should appear above. Select Network and Sharing Center. *NOTE* Alternatively, network and sharing center is available under the Control Panel by going to the Start menu -> Windows System -> Control Panel -> Network and Sharing Center.
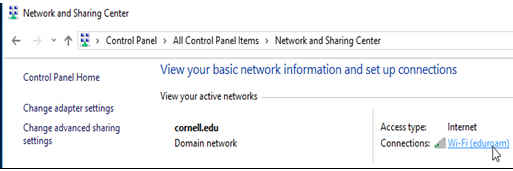
7) Select Wi-Fi (eduroam)
Select Wi-Fi (eduroam) to adjust settings within the Network and Sharing Center dialog box.
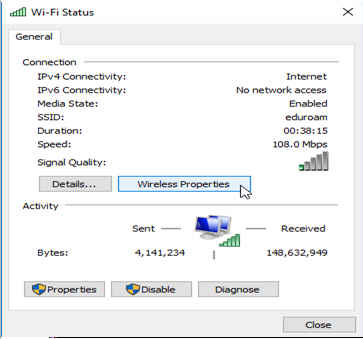
8) Enter Wireless Properties
Click on Wireless properties under the Wi-Fi Status.
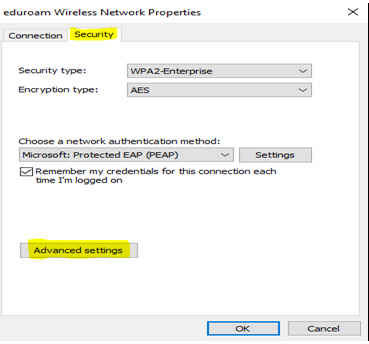
9) Security Tab and Advanced Settings
Under the eduroam Wireless Network Properties dialog box, choose the Security tab then Advanced Settings on the bottom left.
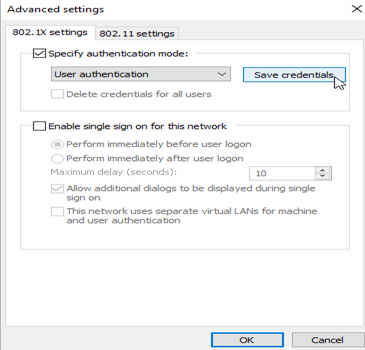
10) Advanced Settings
Under Advanced Settings -> 802.1X settings tab, ensure that the Specify authentication Mode: check box is checked -> select the drop down box and Choose User authentication -> Save credentials
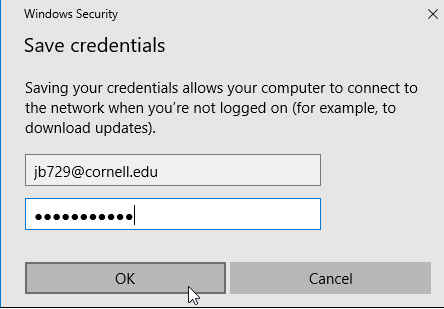
11) Save your credentials
Finally, select Save credentials and enter your netid@cornell.edu for the username and your email password for the password. Choose OK. This will cache your eduroam password so you won’t have to manually logon to eduroam each time you logon to your device.
*NOTE*: Enter your password carefully. Windows does not error check what you type. If you make a mistake you have to start all over.
12) Test
After saving settings, logoff (or restart) and on -> select the radio wave icon on the bottom right on the desktop and ensure that eduroam states “Connected, Secured” (it should not ask for credentials).bit
Troubleshooting
If you don't see a successful connection on step 12, a setting or the password isn't correct. Tell Windows to forget the eduroam wifi connection and start over at the beginning.
Start>Settings>Network&Internet>Wifi>Manage known networks>
Click on eduroam and the click forget